 Be sure to read the entire check list before beginning the installation. Be sure to read the entire check list before beginning the installation.
|
| If this is an upgrade, you should make at least two (2) FULL BACKUPS of the current version before proceeding.
|
|
|
| Although not absolutely necessary, we recommend that your scan you computer system's hard drive for errors before installing any software.
|
|
|
| · | Close any programs currently running on the computer.
|
| · | Re-boot (i.e., re-start) the computer.
|
| · | Check the hard disk for errors.
|
| · | Click the <START> button on the Windows task bar.
|
| · | Select Programs.
|
| · | Select Accessories.
|
| · | Select System Tools.
|
| · | Select ScanDisk.
|
| · | Select the appropriate type of test, options, and advanced features.
|
| · | Click the <START> button to begin analyzing the hard disk.
|
|
|
 IF THERE ARE ANY ERRORS, THEY MUST BE CORRECTED BEFORE PROCEEDING! IF THERE ARE ANY ERRORS, THEY MUST BE CORRECTED BEFORE PROCEEDING!
|
Install the software.
| · | Insert the distribution CD into the CD-ROM drive.
|
| · | Click the <START> button on the Windows Task Bar.
|
| · | Select Run.
|
| · | Type D:\SETUP (where D is the letter of your CD-ROM drive).
|
| · | Click the <OK> button to start the installation.
|
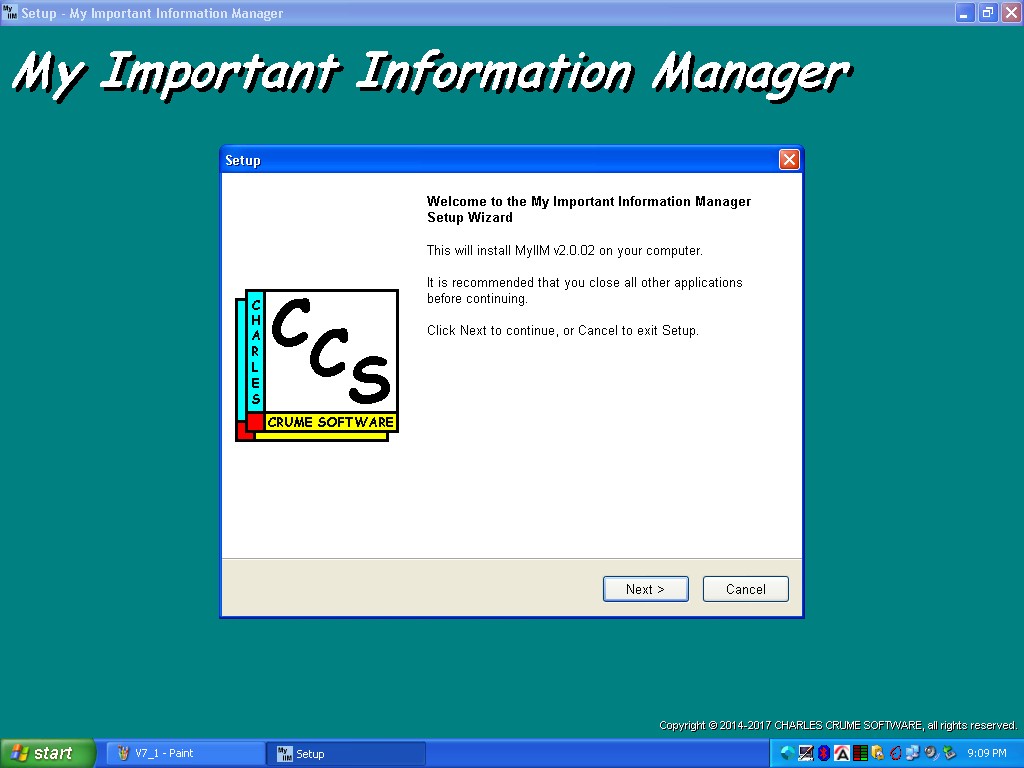
| · | The Setup screen will appear.
|
|
|
|
|
|
| · | Click the <NEXT> button to proceed, <Cancel> to exit.
|
|
|
|
|
|
|
|
|
|
|
|
|
|
|
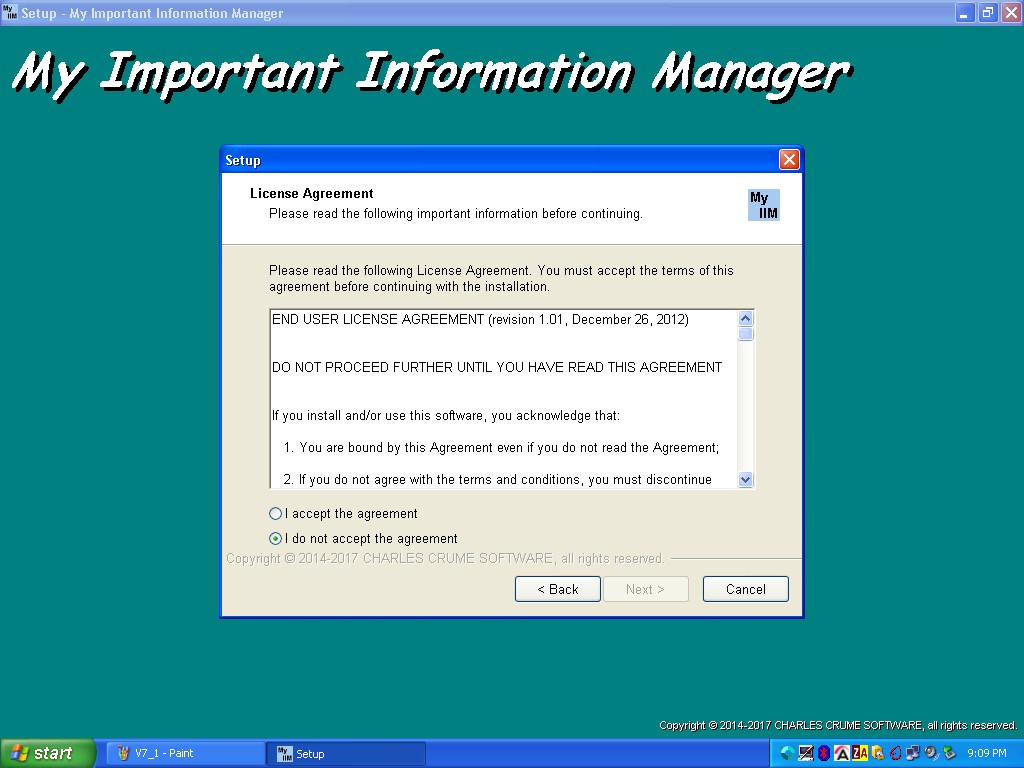
| · | The "license agreement" form, shown below, will be displayed.
|
|
|
|
|
|
| · | The "license agreement" must be accepted to install, and use, the software.
|
| · | Click the "I accept the agreement" radio button to enable the <Next> button.
|
| · | Click the <Next> button to begin installation.
|
|
|
|
|
|
|
|
|
|
|
|
|
|
|
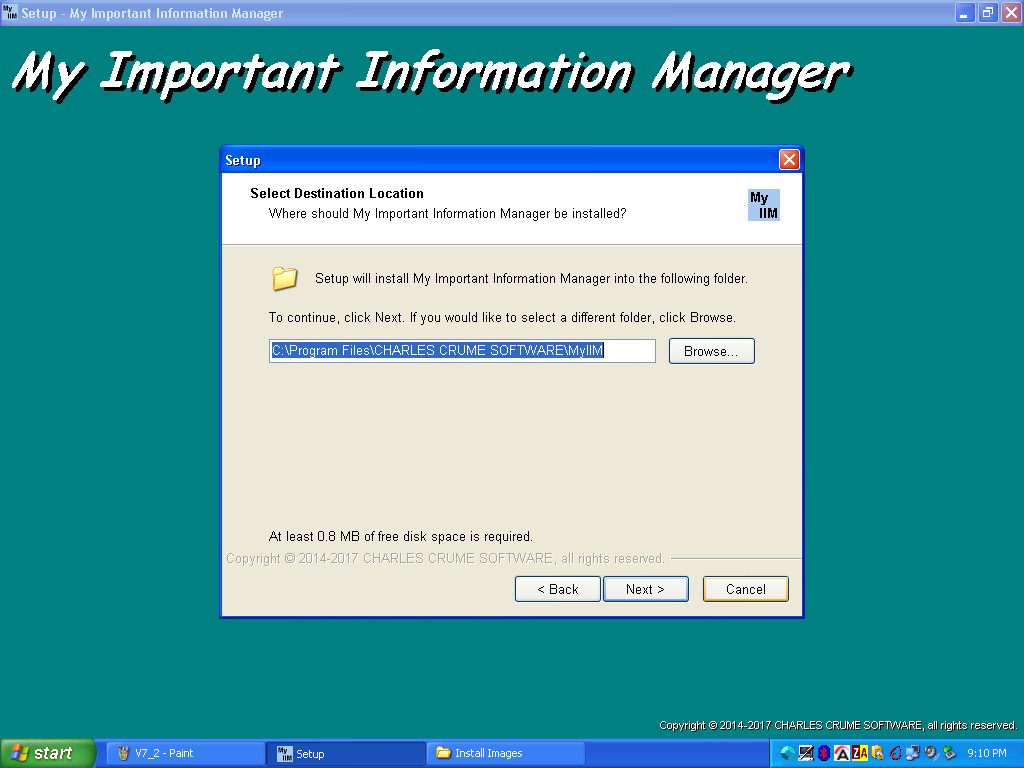
| · | The "Select Destination Location" form is displayed.
|
|
|
|
|
|
| · | Accept the default location unless you have a specific need to change it.
|
|
|
|
|
|
|
|
|
|
|
|
|
|
|
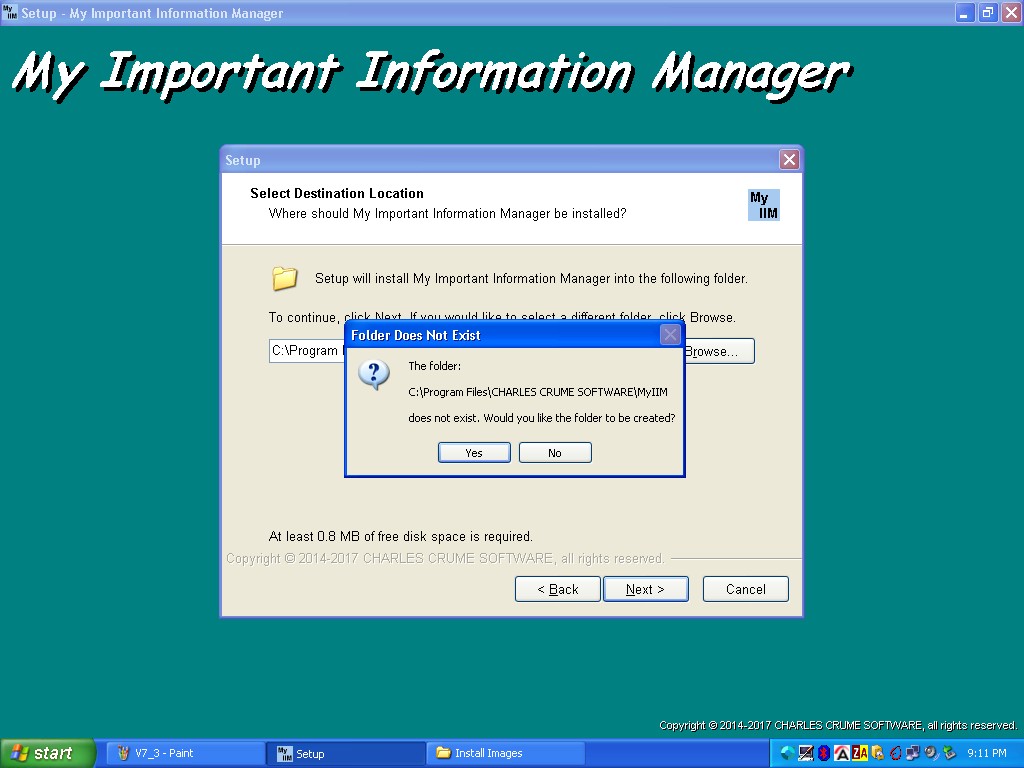
| · | You will probably get a "Folder Does Not Exist" dialog box.
|
|
|
|
|
|
| · | Click the <Yes> button to create the folder, then click the <Next> button to proceed.
|
|
|
|
|
|
|
|
|
|
|
|
|
|
|
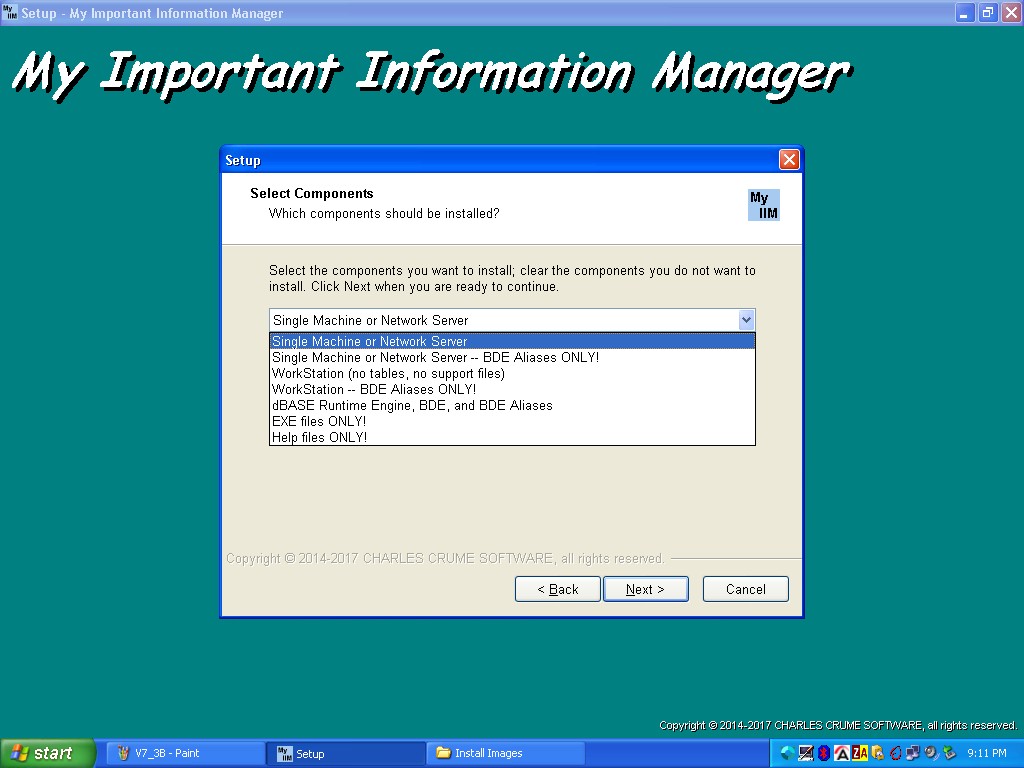
| · | The "Select Components" form is displayed.
|
|
|
|
|
|
| · | The default "Single Machine or Network Server" is appropriate in most cases.
|
|
|
|
|
|
|
|
|
|
|
|
|
|
|
| · | The "Select Start Menu Folder" form is displayed.
|

|
| · | Accept the default folder unless you have a specific need to change it.
|
|
|
|
|
|
|
|
|
|
|
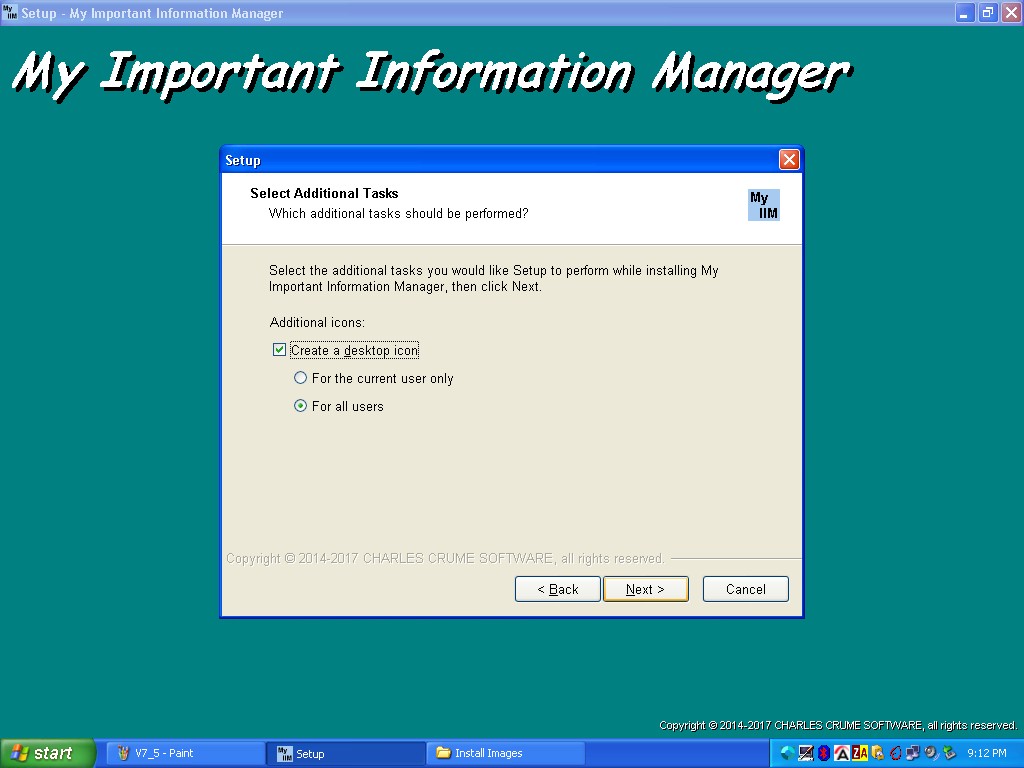
| · | The "Select Additional Tasks" form is displayed.
|
|
|
|
|
|
| · | Accept the default settings unless you have a specific need to change them.
|
|
|
|
|
|
|
|
|
|
|
|
|
|
|
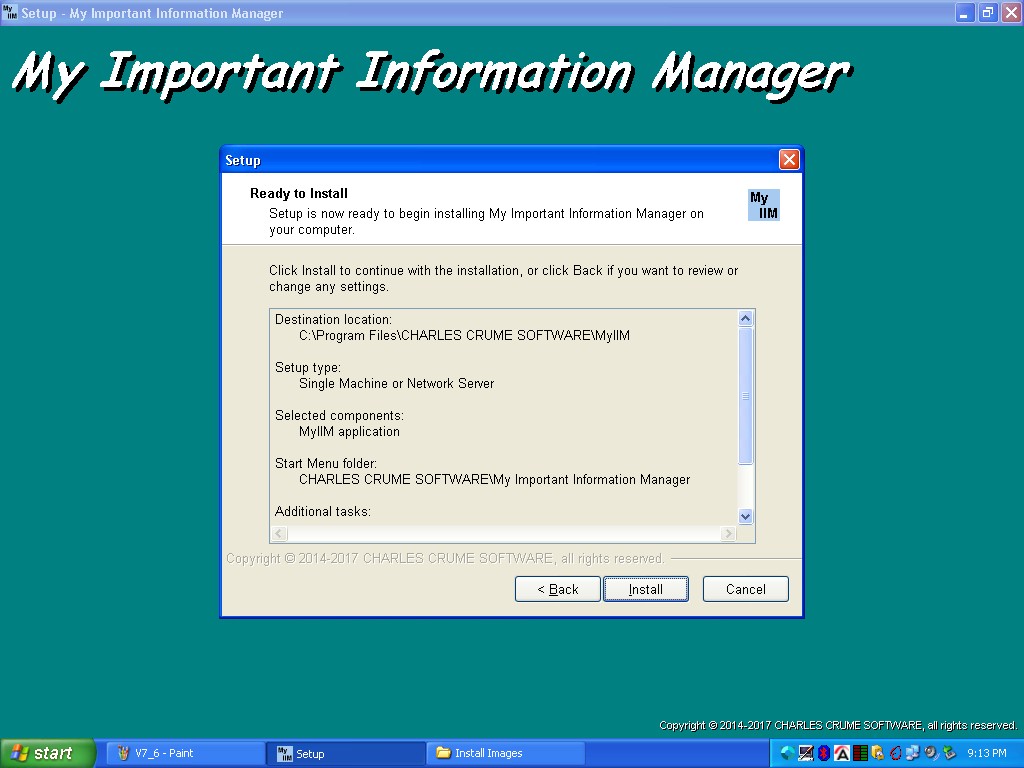
| · | The "Ready To Install" form is displayed.
|
|
|
|
|
|
| · | Review your choices and click <Next> when ready.
|
|
|
|
|
|
|
|
|
|
|
|
|
|
|
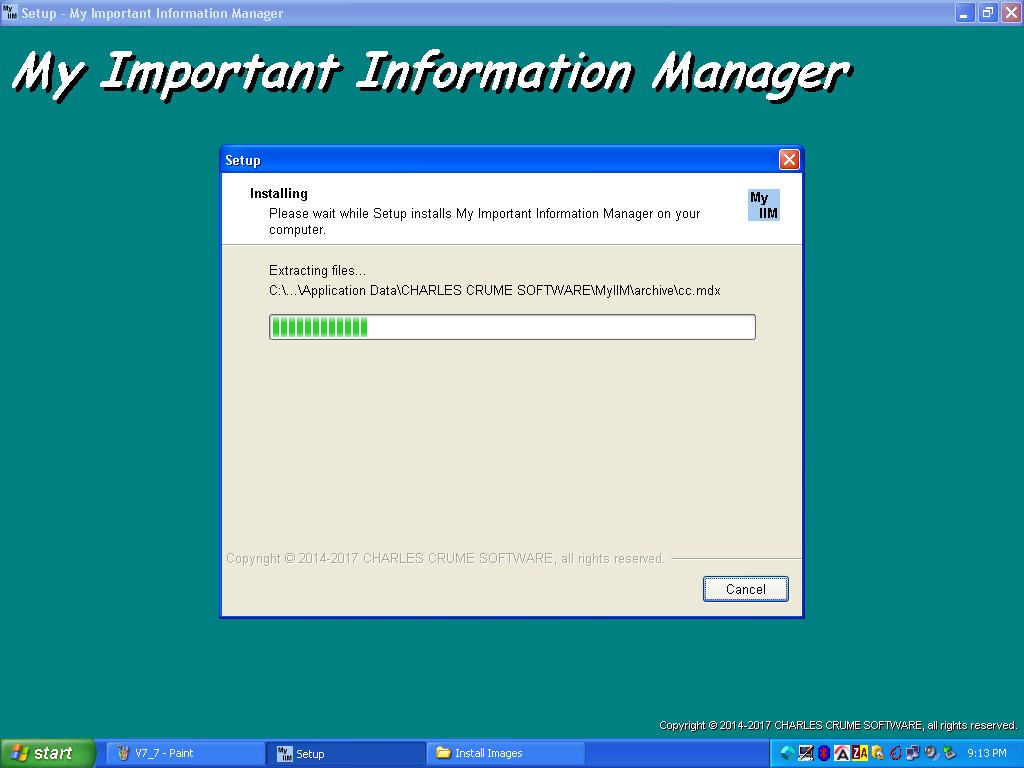
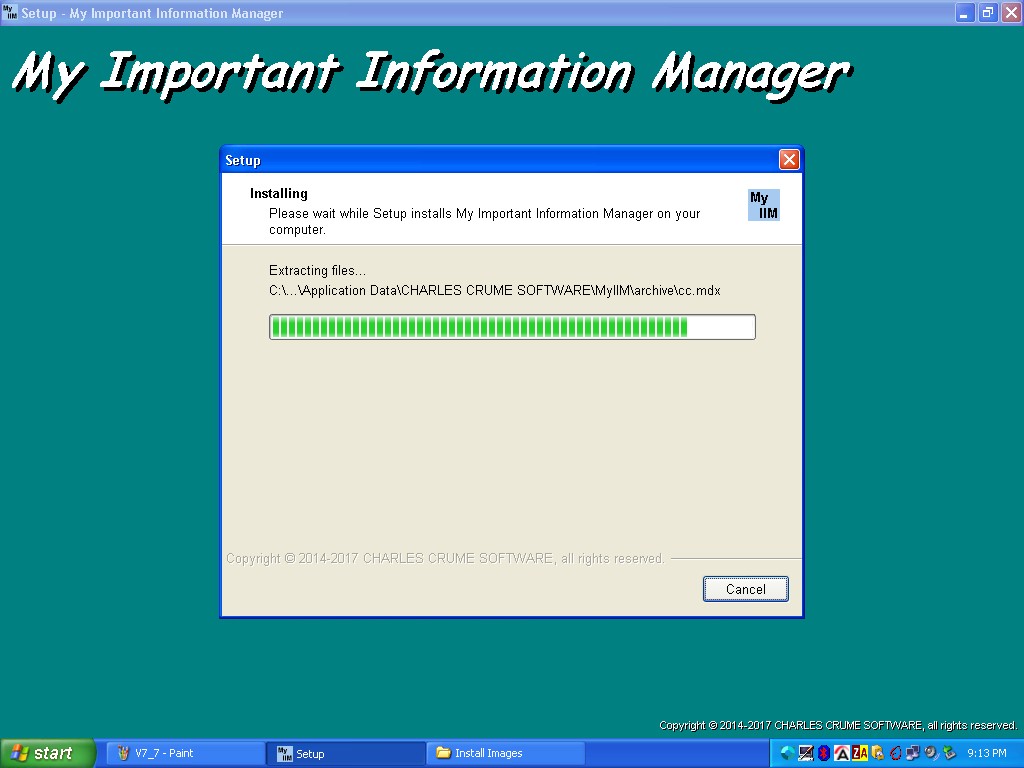
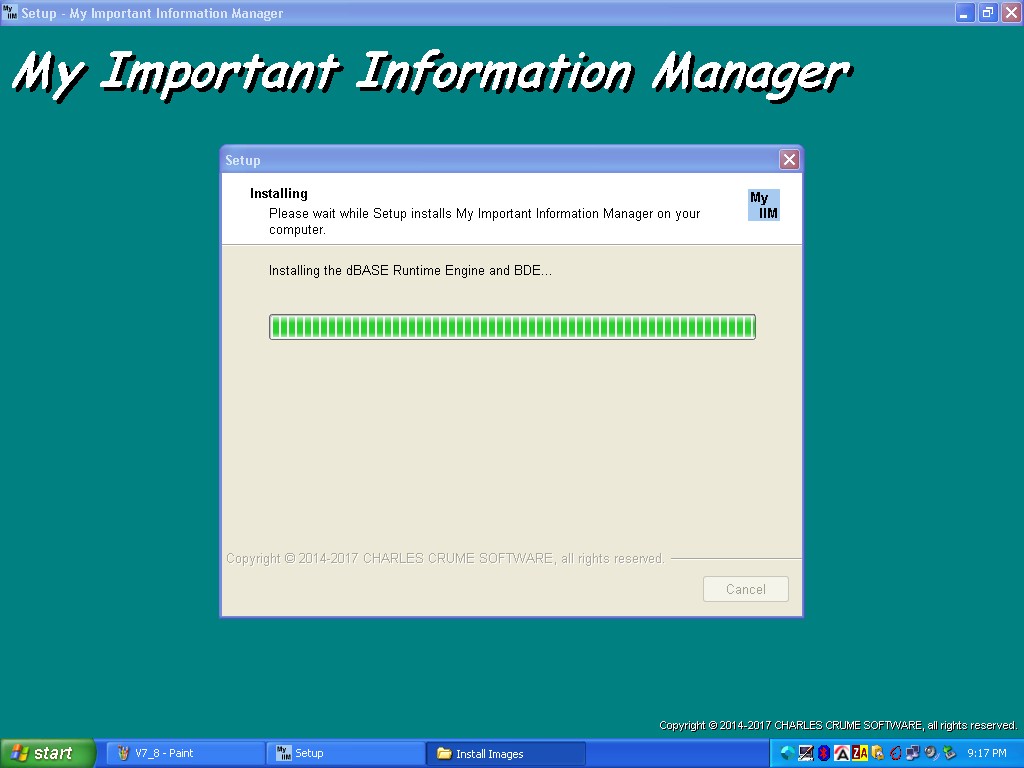
| · | The "Installing" form is displayed.
|
|
|
|
|
|
| · | A progress bar shows how the installation is proceeding.
|
|
|
|
|
|
|
|
|
|
|
|
|
|
|
| · | As the installation proceeds the progress bar fills up.
|
|
|
|
|
|
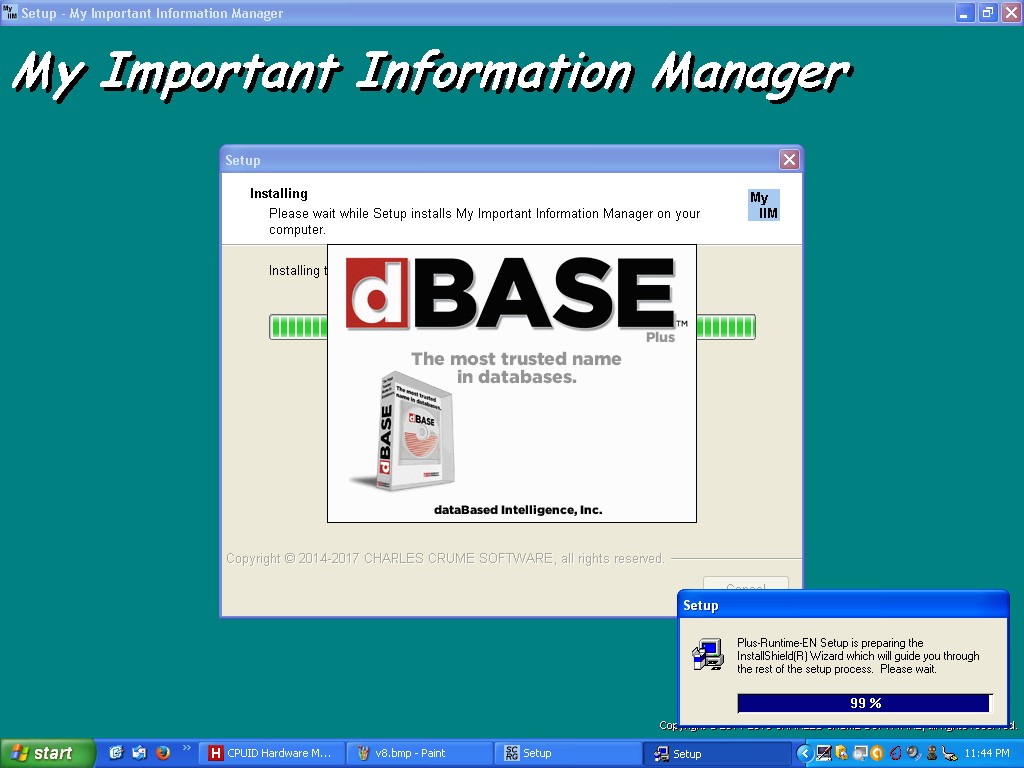
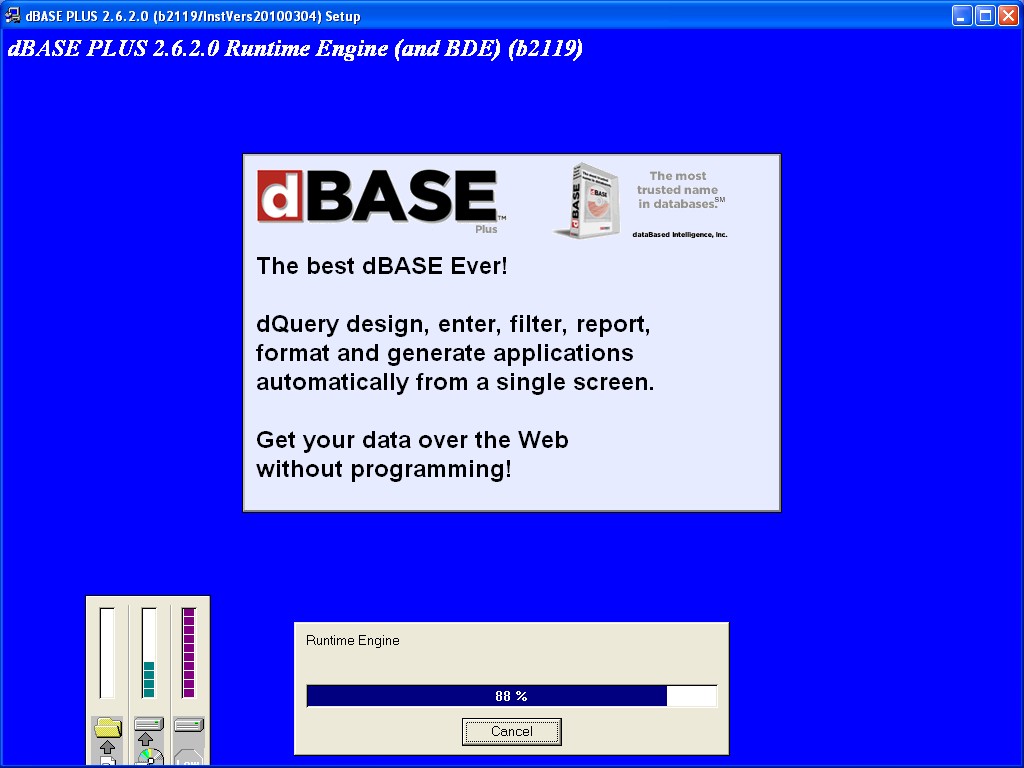
| · | Once the installation of MyIIM's primary files is complete, the dBASE logo and a little "Setup" form in the lower right-hand corner of the screen is displayed.
|
|
|
|
|
|
| · | This "setup" form is for installing the dBASE RunTime Engine and BDE.
|
|
|
|
|
|
|
|
|
|
|
|
|
|
|
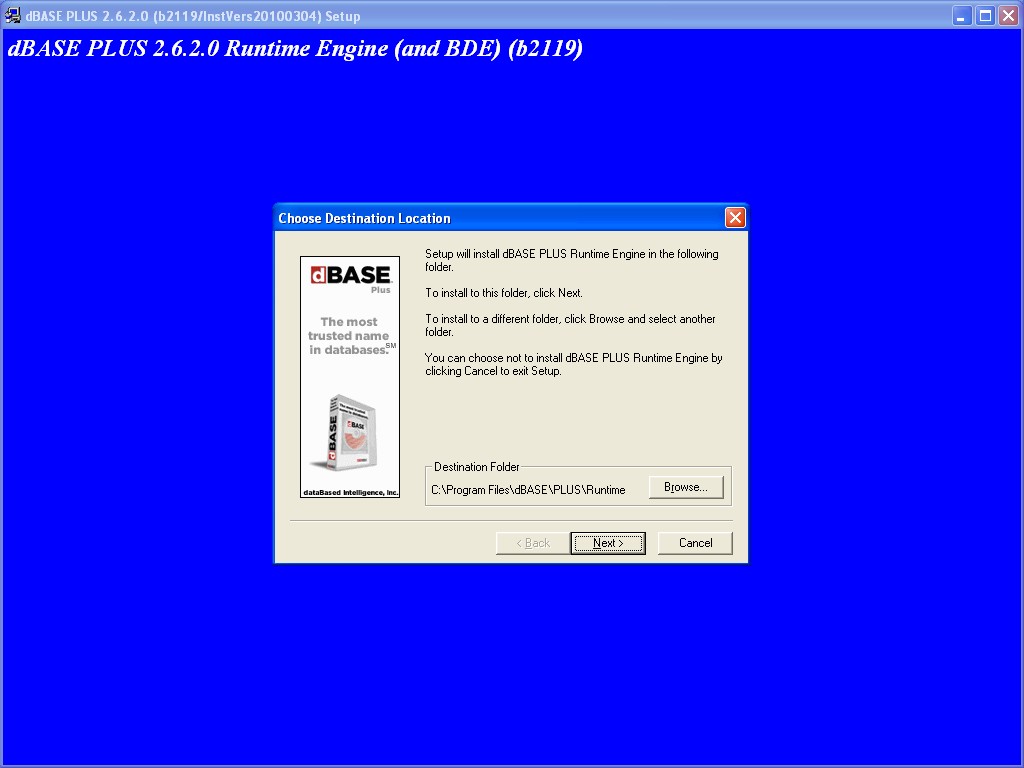
| · | It will take a minute or two (perhaps a little longer -- depending on the speed of your computer) before the "dBASE PLUS 2.6.2.0 Runtime Engine (and BDE) (b2119) " form along with it's "Select Destination Location" form appear.
|
|
|
|
|
|
| · | Accept the default location unless you have a specific need to change it.
|
|
|
|
|
|
|
|
|
|
|
|
|
|
|
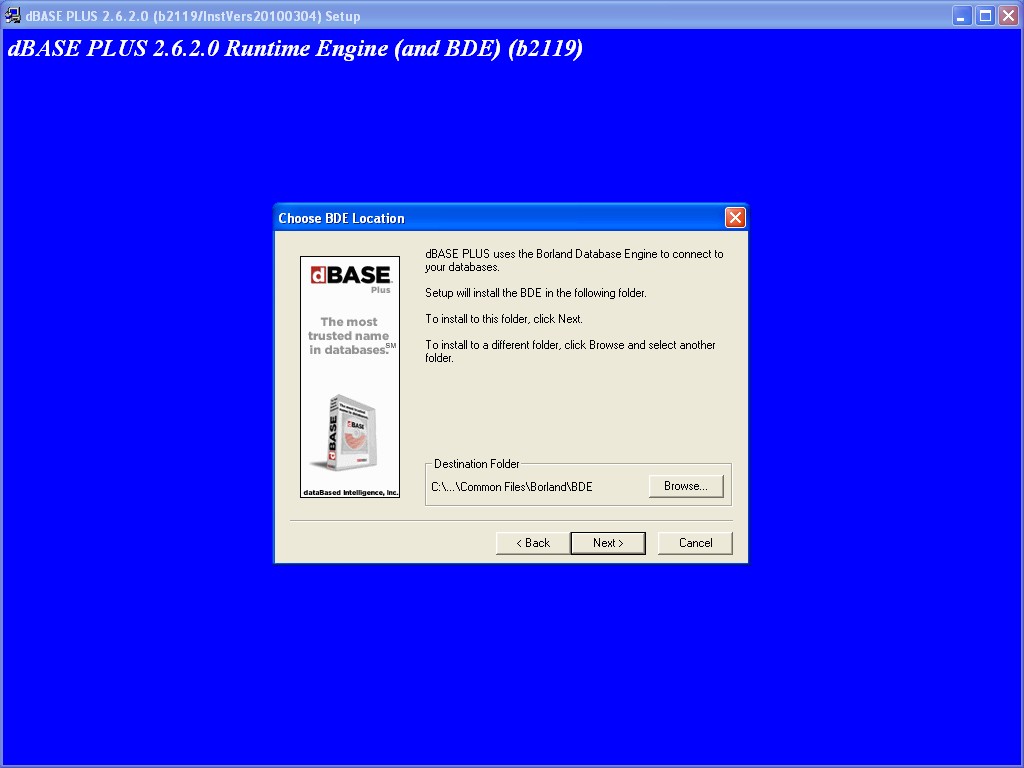
| Upon selecting the location for the RunTime Engine, the "Choose BDE Location" form is displayed.
|
|
|
|
|
|
| · | Accept the default location unless you have a specific need to change it.
|
|
|
|
|
|
|
|
|
|
|
|
|
|
|
| · | The installer for the RunTime Engine/BDE will display a several dBASE messages and 2 progress bars: One in the lower left showing installation of files and how much disk space is being used, and a horizontal one showing the total progress.
|
|
|
|
|
|
| · | The installer will probably run for several minutes.
|
|
|
|
|
|
|
|
|
|
|
|
|
|
|
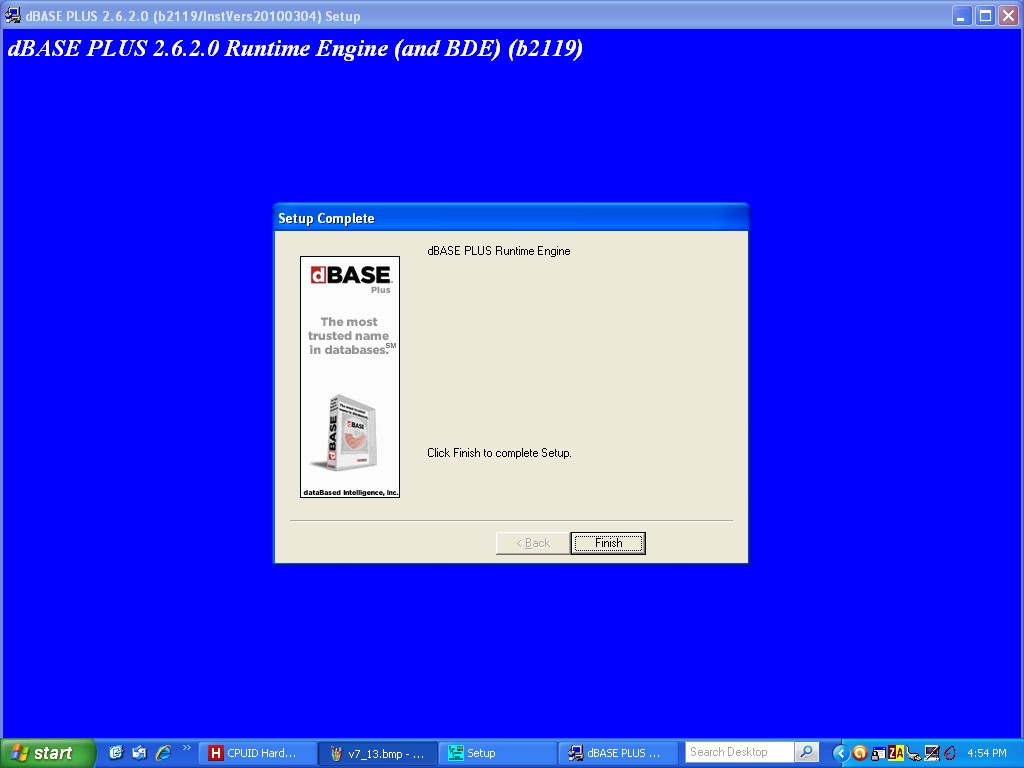
| · | When complete, the "Setup Complete" form is displayed.
|
|
|
|
|
|
|
|
|
|
|
|
|
|
|
|
|
|
|
|
| · | The main MyIIM "Installing" form will be re-displayed for a couple of minutes while things are finalized.
|
|
|
|
|
|
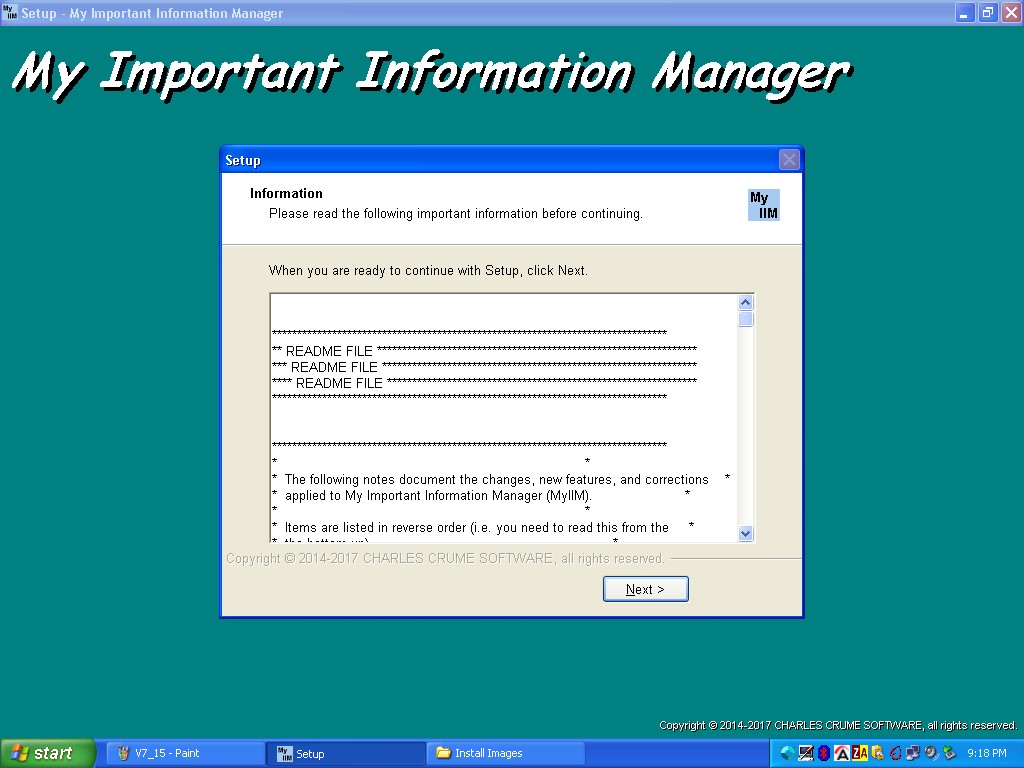
| · | Once things are finalized, the "Information" form will be displayed showing the README file.
|
|
|
|
|
|
| · | The README file contains a list of changes, bug fixes, and enhancements made to the software. You can read it now, or later (there is a provision in MyIIM to read this file).
|
|
|
|
|
|
|
|
|
|
|
|
|
|
|
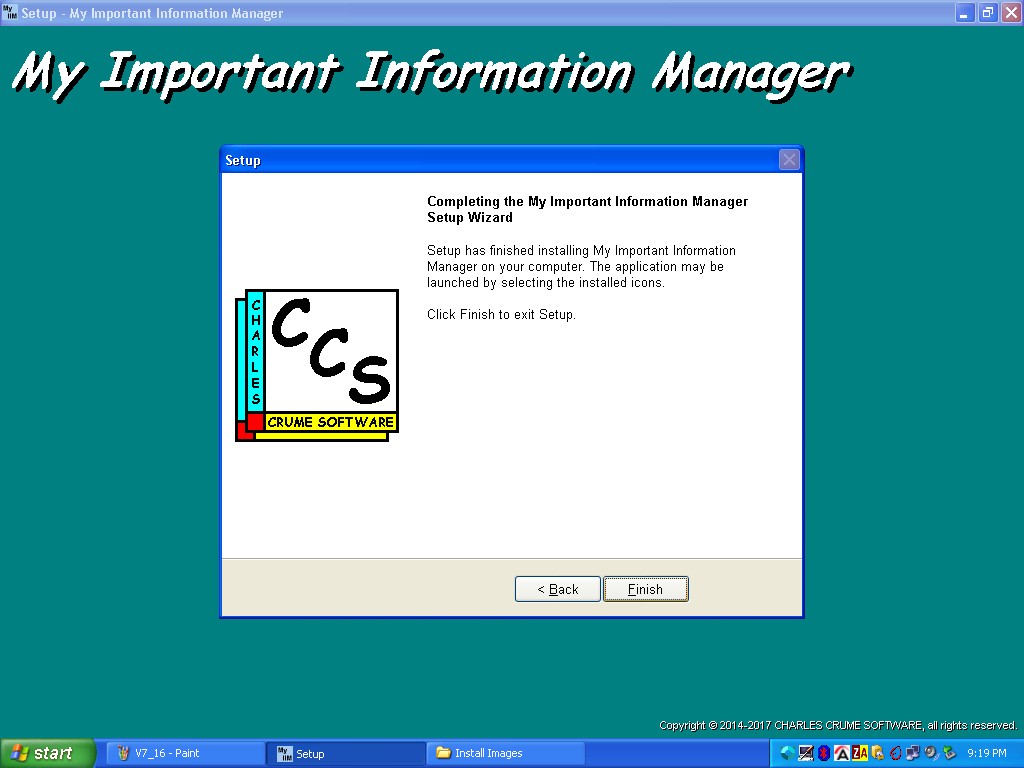
| · | Now the "Completing the My Important Information Manager Setup Wizard" form is displayed.
|
|
|
|
|
|
| · | The installation process should terminate and the Windows desktop re-displayed.
|
|
|
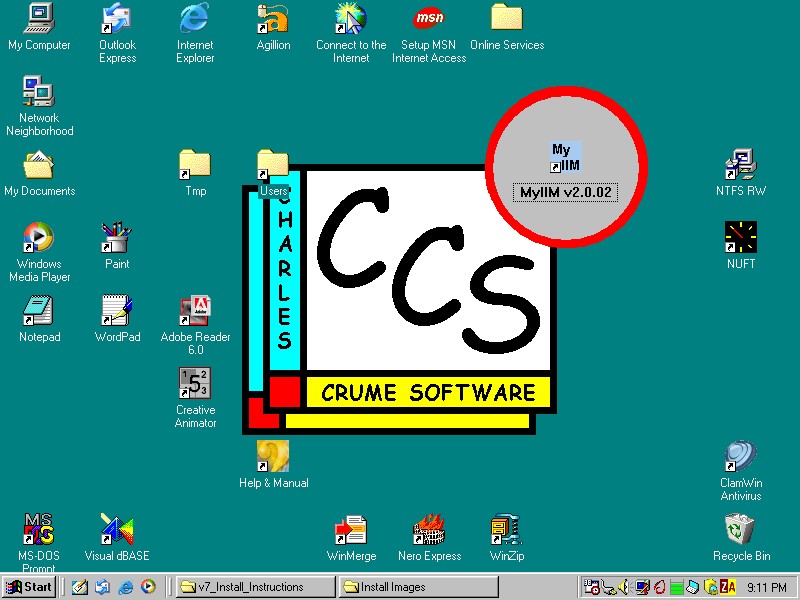
| · | You should see an icon for MyIIM v2.0.
|
|
|
| · | The following screen shot, of a sample desktop, highlights the icon -- but be aware that Windows will place the icon on the desktop where it thinks is best -- you may have to look for it.
|
|
|
|
|
|
| · | Start the Software by double-clicking the icon.
|
| · | View and/or print the appropriate on-line documents.
|
| · | Press <ALT><H> to open the Help menu.
|
| · | Hi-light View Print the On-Line Documents, then press <ENTER> to open the sub-menu.
|
| · | Select the on-line document to view/print.
|
| The README and README2 files itemize the changes, new features, and bug fixes made to the software. IT IS IMPORTANT THAT YOU PRINT AND READ THESE TWO FILES.
|
| If you purchased a network license be sure to view/print the Network Notes.
|